Getting Started
The fastest path from a fresh install to exploring your matches is five steps. Do them in order the first time; after that you'll mostly live in Matches, Analysis, and Research.
Experiment first. Before building your real database in earnest, try the
steps below with one kit and one testing company to see how the app behaves. Use
Import to add more later.
The five steps
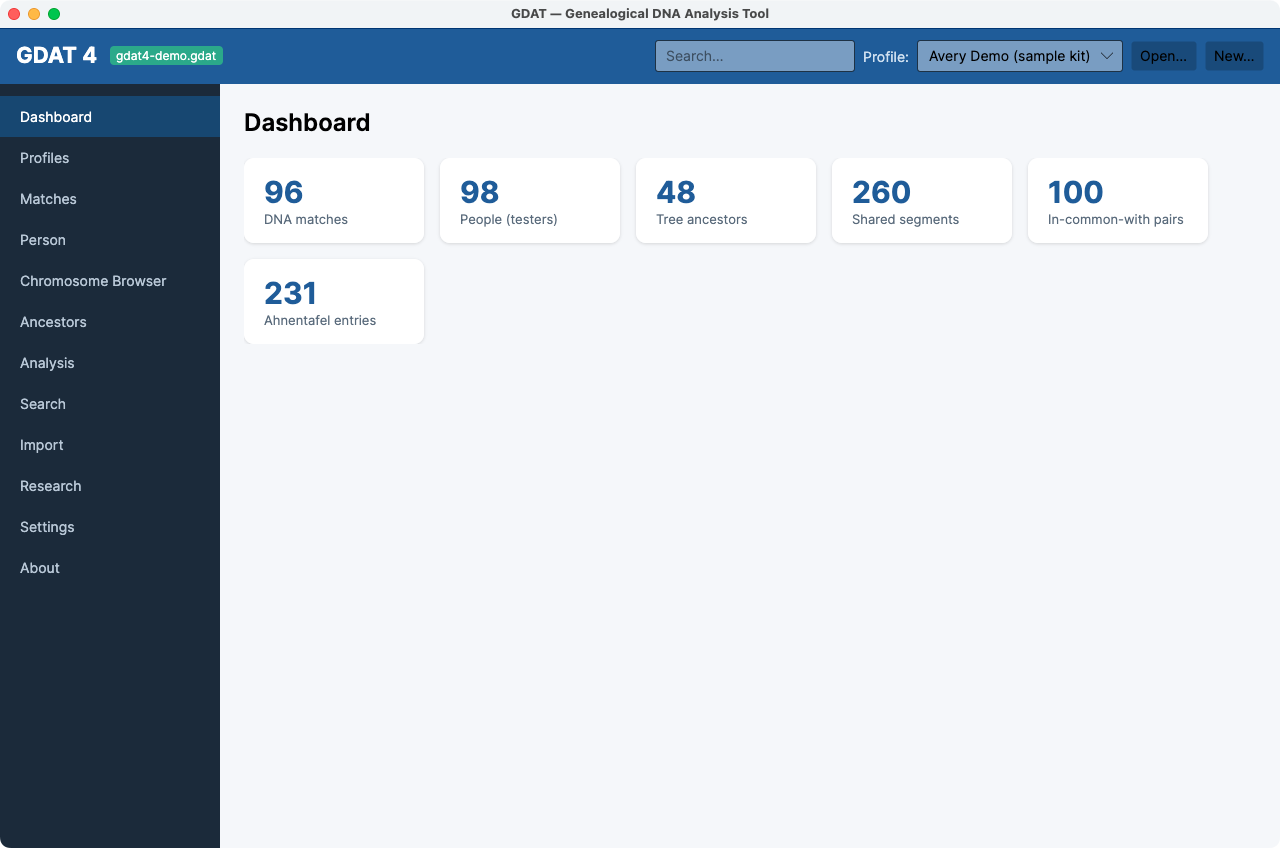
- Open or create a database. From the top bar, click Open…
(
Cmd/Ctrl + O) to open an existing GDAT database, or New… (Cmd/Ctrl + N) to create one. GDAT 4 needs a v3 database; if you open an older file it will say so. - Pick the active kit. In the top-bar Profile selector, choose the test kit you want to work with. This scopes every screen — matches, segments, tree, and analyses all belong to the active kit. (No kits yet? Create one in Profiles.)
- Import your matches. Go to Import and bring in data from a DNAGedcom Client database, a CSV export, or a GEDCOM tree. See Import your matches for the details.
- Recompute family groups. In Settings, click Recompute family groups. This tags each ancestor in your matches' trees with the couple they descend from, which is what powers the MRCA, Segments, and Group Compare analyses. See Recompute family groups.
- Explore. Now dig in: Matches, Chromosome Browser, Ancestors, Analysis, Search, and Research.
If MRCA / Segments / Group Compare look empty, you almost certainly
skipped step 4. Those analyses need family groups. Run
Settings → Recompute family groups after importing a tree. (Surname analysis and
clustering work on raw data and don't need this step.)
Backup is your friend
GDAT 4 automatically backs up your database before every destructive action — imports, delete, merge, and replace-all all say “a backup was made first” in their status text. Even so, it's worth keeping your own copies before big changes: your database is a single file you can copy anywhere.
Where to next
- Follow the Core Workflows in order, starting with Import your matches.
- Skim the Glossary if any term is unfamiliar.
- Browse the Screen Reference for any workspace you want to understand in depth.